
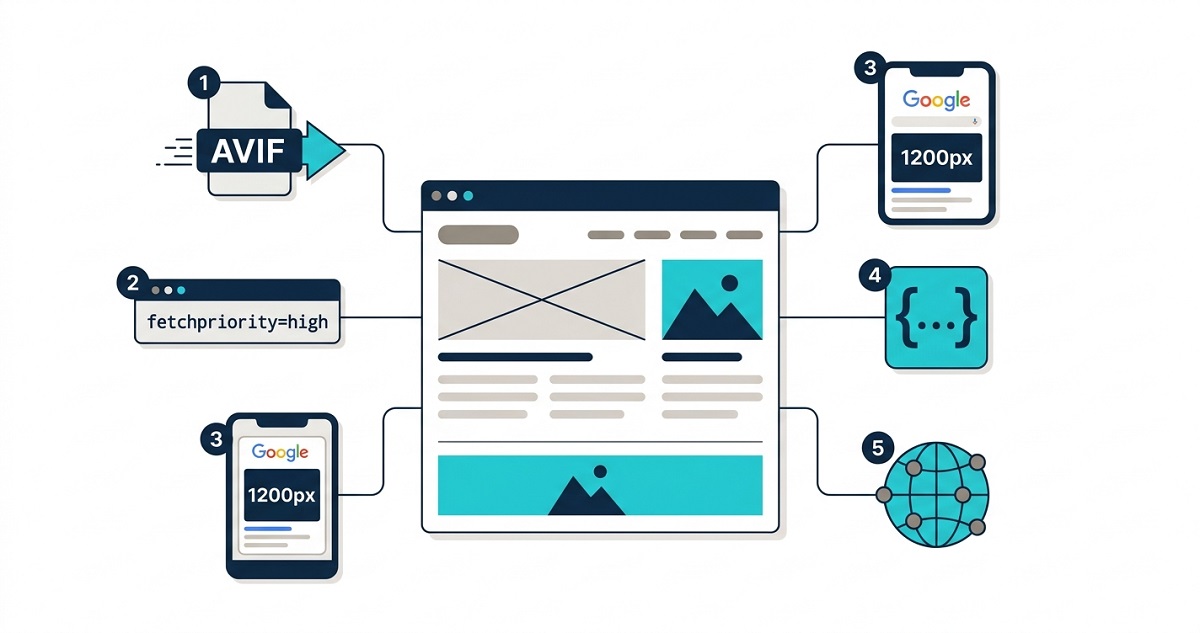
You have added alt text. You have renamed your files. You are serving WebP images and your page loads in under two seconds. That is the baseline – and most sites never get past it.
Advanced image SEO is what happens after the checklist. It is the difference between a site that ranks for a handful of product queries in Google Images and one that captures a consistent stream of image-driven traffic across dozens of terms. The strategies in this guide require a bit more technical confidence, but none of them need a developer. Work through them methodically and you will find opportunities your competitors have not touched.
Strategy 1: Switch from WebP to AVIF where supported
WebP was Google’s recommended format for most of the last decade. In 2026, AVIF is measurably better – it produces files 20-50% smaller than WebP at equivalent quality, with superior performance on photographic content.
Browser support for AVIF is now mainstream: Chrome, Firefox, Edge, Opera, and Safari 16+ all support it. The only exception is older Safari versions and some legacy Android browsers.
The correct implementation is the <picture> element, which lets you serve AVIF to browsers that support it and fall back to WebP (or JPEG) for those that do not:
This approach is progressive: users on modern browsers get AVIF speed; nobody gets a broken image. WordPress plugins including Imagify and ShortPixel now support AVIF conversion and automatic <picture> tag output.
<picture>
  <source srcset="product-image.avif" type="image/avif">
  <source srcset="product-image.webp" type="image/webp">
  <img src="product-image.jpg" alt="Descriptive alt text here" width="800" height="600">
</picture>
The SEO impact: Smaller file sizes reduce time-to-first-byte for image content, directly improving your Core Web Vitals LCP score. Google uses Core Web Vitals as a ranking signal in both regular search and Google Discover.
Strategy 2: Set fetchpriority=”high” on your LCP image
Most WordPress sites use lazy loading (loading=”lazy”) on all images, which is correct for images below the fold. The problem is the hero image – your LCP element – is often affected by this as well, or at minimum is not being actively prioritised by the browser.
Adding fetchpriority=”high” to your LCP image tells the browser to fetch it at maximum priority during the initial page load, before it even finishes parsing the full HTML:
<img
  src="hero-image.avif"
  alt="Accurate descriptive alt text"
  fetchpriority="high"
  loading="eager"
  width="1200"
  height="630"
>
Key rules:
- Use fetchpriority=”high”on exactly one image per page – your hero/banner
- Use loading=”eager”on the same image (never lazy-load your LCP element)
- Always include widthand height attributes to prevent layout shift (CLS)
In WordPress, you can add this via your theme’s functions.php using the wp_get_attachment_image_attributes filter, or with a plugin like Perfmatters or WP Rocket.
This is one of the highest-return Core Web Vitals improvements available for image-heavy sites and most sites are not using it.
Strategy 3: Optimise images for Google Discover
Google Discover is the content feed shown on Android home screens and in Google’s mobile app. It serves articles and pages based on user interest signals – not keyword queries – and can drive significant referral traffic when your content qualifies.
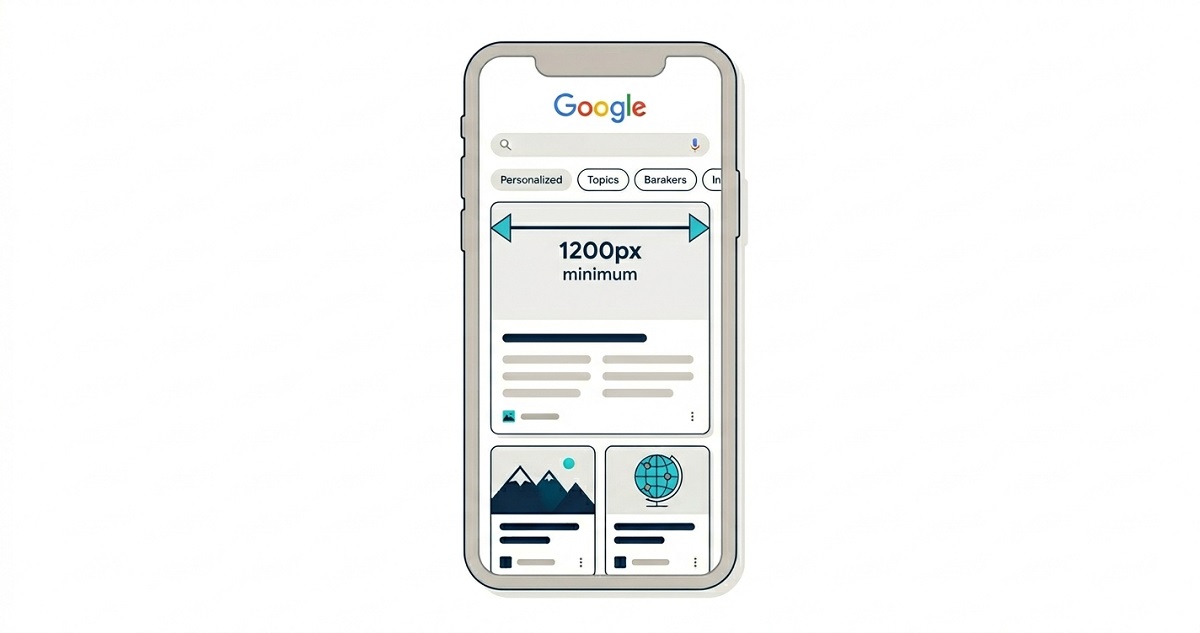
One of Google’s documented eligibility requirements for Discover is that your page must have a high-quality image that is at least 1200 pixels wide. Smaller images are either excluded from Discover entirely or shown in a smaller format that gets far fewer clicks.
What this means in practice:
- Your featured image must be at least 1200×630px at upload
- You must enable large image display in Google Search Console (Settings → Google Discover → Opt into using larger images)
- The max-image-previewrobots meta tag must be set to large (Rank Math and Yoast both do this by default, but confirm it is active)
<!-- Rank Math / Yoast adds this automatically if configured correctly -->
<meta name="robots" content="max-image-preview:large">
A 1200px featured image on every blog post and product page is not optional if Discover traffic is part of your strategy.
Strategy 4: Fill every field in ImageObject structured data
Most guides tell you to add image schema. Fewer tell you what to put in every field. Google’s ImageObject schema supports a range of properties beyond just the image URL – and filling them in gives Google a richer entity to work with.
A complete ImageObject for a blog post hero image looks like this:
{
  "@type": "ImageObject",
  "url": "https://yoursite.com/wp-content/uploads/2025/05/your-image.avif",
  "width": 1200,
  "height": 630,
  "caption": "Descriptive caption matching the image content",
  "name": "Image name matching the page topic",
  "contentUrl": "https://yoursite.com/wp-content/uploads/2025/05/your-image.avif",
  "creditText": "Your site name",
  "license": "https://creativecommons.org/licenses/by/4.0/"
}
For WordPress sites using Rank Math, the image field in BlogPosting schema is populated automatically from the featured image. What it does not fill automatically is caption, name, creditText, or license. These can be added via a custom wp_head output or through Rank Math’s Schema tab per post.
For WooCommerce product images, use the image field inside your Product schema. WooCommerce adds basic product schema automatically — the brand and image fields can be extended via the woocommerce_structured_data_product filter in functions.php.
Strategy 5: Never use the same stock photo as 10,000 other sites
This is one of the most overlooked advanced image SEO risks. When you use a popular stock photo – especially a free one from Unsplash, Pexels, or a generic Shutterstock image – Google has likely already indexed that exact image on hundreds or thousands of other websites.
Google’s image index deduplicates visually identical images. When the same image appears on many sites, Google typically surfaces it from the domain with the highest authority, not yours. Your page effectively contributes to someone else’s image ranking.
The fix:
- Use original photography where possible
- When stock is necessary, choose less popular libraries (Adobe Stock often has lower reuse rates than Pexels)
- Modify stock images – add branded overlays, crop to a unique aspect ratio, apply a colour filter – to make them visually distinct
- For charts and diagrams, create your own using Canva, Figma, or similar tools; even simple custom graphics are original
Original images are also more likely to generate backlinks – infographics, charts, and data visualisations that other sites embed naturally build image-driven link equity to your domain.
Strategy 6: Use Google Search Console to find image opportunities
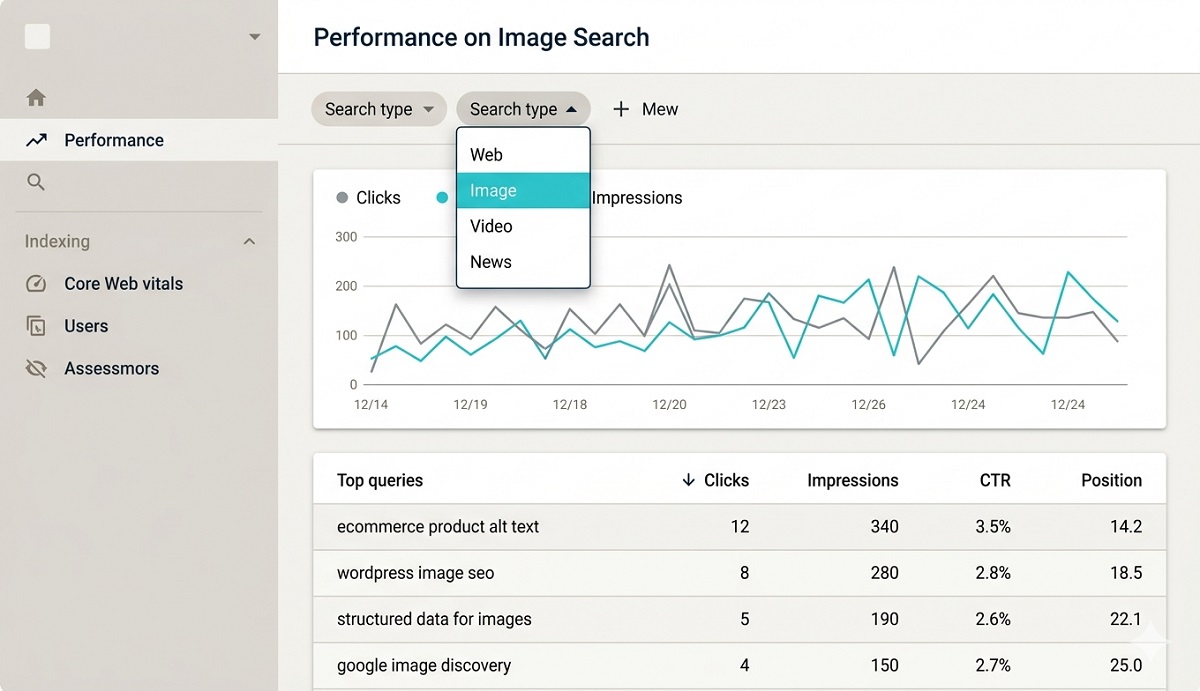
Most site owners look at GSC performance data through the default lens – queries, pages, CTR. Very few filter specifically for image search performance.
In Google Search Console → Performance → Search type, switch from “Web” to “Image.” This shows you:
- Which queries are driving impressions in Google Image Search
- Which images have high impressions but low CTR (candidates for alt text improvement)
- Which pages are generating image traffic you did not know about
- Emerging queries where you rank 10–30 in image search (opportunity to push to the top)
Strategy 7: Always declare width and height on every image
This is technically simple but almost universally ignored. When you do not specify explicit dimensions on an <img> tag, the browser does not know how much space to reserve for the image until it has fully downloaded. The result: the page layout shifts as images load – a CLS (Cumulative Layout Shift) failure that Google penalises in Core Web Vitals.
<!-- ❌ No dimensions — causes layout shift -->
<img src="product.avif" alt="Product description">

<!-- ✅ Dimensions declared — layout stable during load -->
<img src="product.avif" alt="Product description" width="800" height="600">
In WordPress, the block editor and wp_get_attachment_image() add width and height attributes automatically. Page builders (Bricks, Elementor) sometimes strip them – check your rendered HTML in browser DevTools to confirm.
The width/height attributes do not constrain the image display size (CSS handles that), but they tell the browser the correct aspect ratio before the image downloads, preventing layout shift entirely.
Strategy 8: Add decoding=”async” to below-the-fold images
Image decoding is the process of converting a compressed image file into the pixels displayed on screen. By default, browsers decode images synchronously – meaning they block the main thread while decoding, which can cause jank during page load.
Adding decoding=”async” to below-the-fold images tells the browser to decode them off the main thread, improving perceived page speed:
<img src="gallery-image.avif" alt="Description" loading="lazy" decoding="async" width="600" height="400">Use this on: gallery images, supporting illustrations, inline blog images, and any other image not visible on the initial viewport. Do not use it on your hero/LCP image – that one should use decoding=”sync” (or omit the attribute entirely, which defaults to auto).
Strategy 9: Use an image CDN for global performance
A standard WordPress host serves images from a single data centre. A visitor in Sydney loading a page hosted in New York waits longer for every image to travel that distance. For image-heavy sites, this geographic latency is often the single biggest contributor to slow LCP on mobile.
An image CDN solves this by:
- Caching your images at edge nodes around the world (closest server serves each user)
- Often including on-the-fly format conversion (automatically serves AVIF to supported browsers, WebP to others, JPEG as fallback)
- Resizing images to the exact dimensions requested, so mobile devices never download desktop-sized images
Options for WordPress:
- Cloudflare(free tier) – caches all static assets including images, global CDN with 300+ edge locations
- Cloudflare Images(paid) – dedicated image CDN with on-the-fly resizing and format conversion
- BunnyCDN— low-cost CDN with image optimisation add-on
- Cloudinary— full image management platform with WordPress plugin, powerful but more complex to set up
For most WordPress sites, enabling Cloudflare (free) is the fastest win. For e-commerce stores with large product catalogues, Cloudinary or Cloudflare Images adds resizing on demand, which eliminates the need to upload multiple image sizes.
Strategy 10: Build internal links to your best image content
Images on pages with strong internal link equity are more likely to rank well in Google Image Search. Internal linking signals to Google that a page – and by extension its images – is important within your site.
For infographics and original data charts, create a dedicated page for each one. Then link to that page from every relevant article that references the data. This concentrates link equity on the page hosting the image, rather than burying it three paragraphs deep in a post that links to thirty other things.
For product images, make sure your highest-priority product pages are linked from your homepage, category pages, and any relevant blog content. A product page that receives no internal links is invisible to Google’s link-based authority signals – no matter how good the image alt text is.
Quick reference — advanced image SEO strategies 2026
| Strategy | What it does | Difficulty |
| AVIF format via <picture> | 20–50% smaller than WebP, faster LCP | Medium |
| fetchpriority=”high” on LCP image | Browser fetches hero image immediately | Easy |
| 1200px+ featured images | Qualifies pages for Google Discover | Easy |
| Full ImageObject structured data | Richer image entity for Google | Medium |
| Avoid popular stock photos | Prevents image deduplication by Google | Easy |
| GSC image search analysis | Reveals impression/CTR opportunities | Easy |
| width + height attributes | Eliminates CLS layout shift | Easy |
| decoding=”async” on body images | Reduces main thread blocking | Easy |
| Image CDN | Reduces latency globally | Medium |
| Internal links to image-rich pages | Builds page authority for image ranking | Easy |